How I Record Screen Casts
This semester is weird. Instead of holding my "Applied Programming" lecture as I normally would, live-coding in front of the students and narrating my foibles, this time it all had to be done online, thanks to the ongoing pandemic. Which meant I had to record videos. I had no idea how to record videos. This is a writeup of what I did, in case I have to do more of it. You can see the results of my efforts in my Qt for Python video tutorials and my file parsing with Python video tutorials. Through some strange coincidences, wired.com wrote an article about my use of OBS.
Working on Linux, I used the Open Broadcaster Software, or OBS for short, as my recording program. OBS can do much more than record screencasts, but I only use it for two things: Recording a portion of my screen, and switching between different portions.

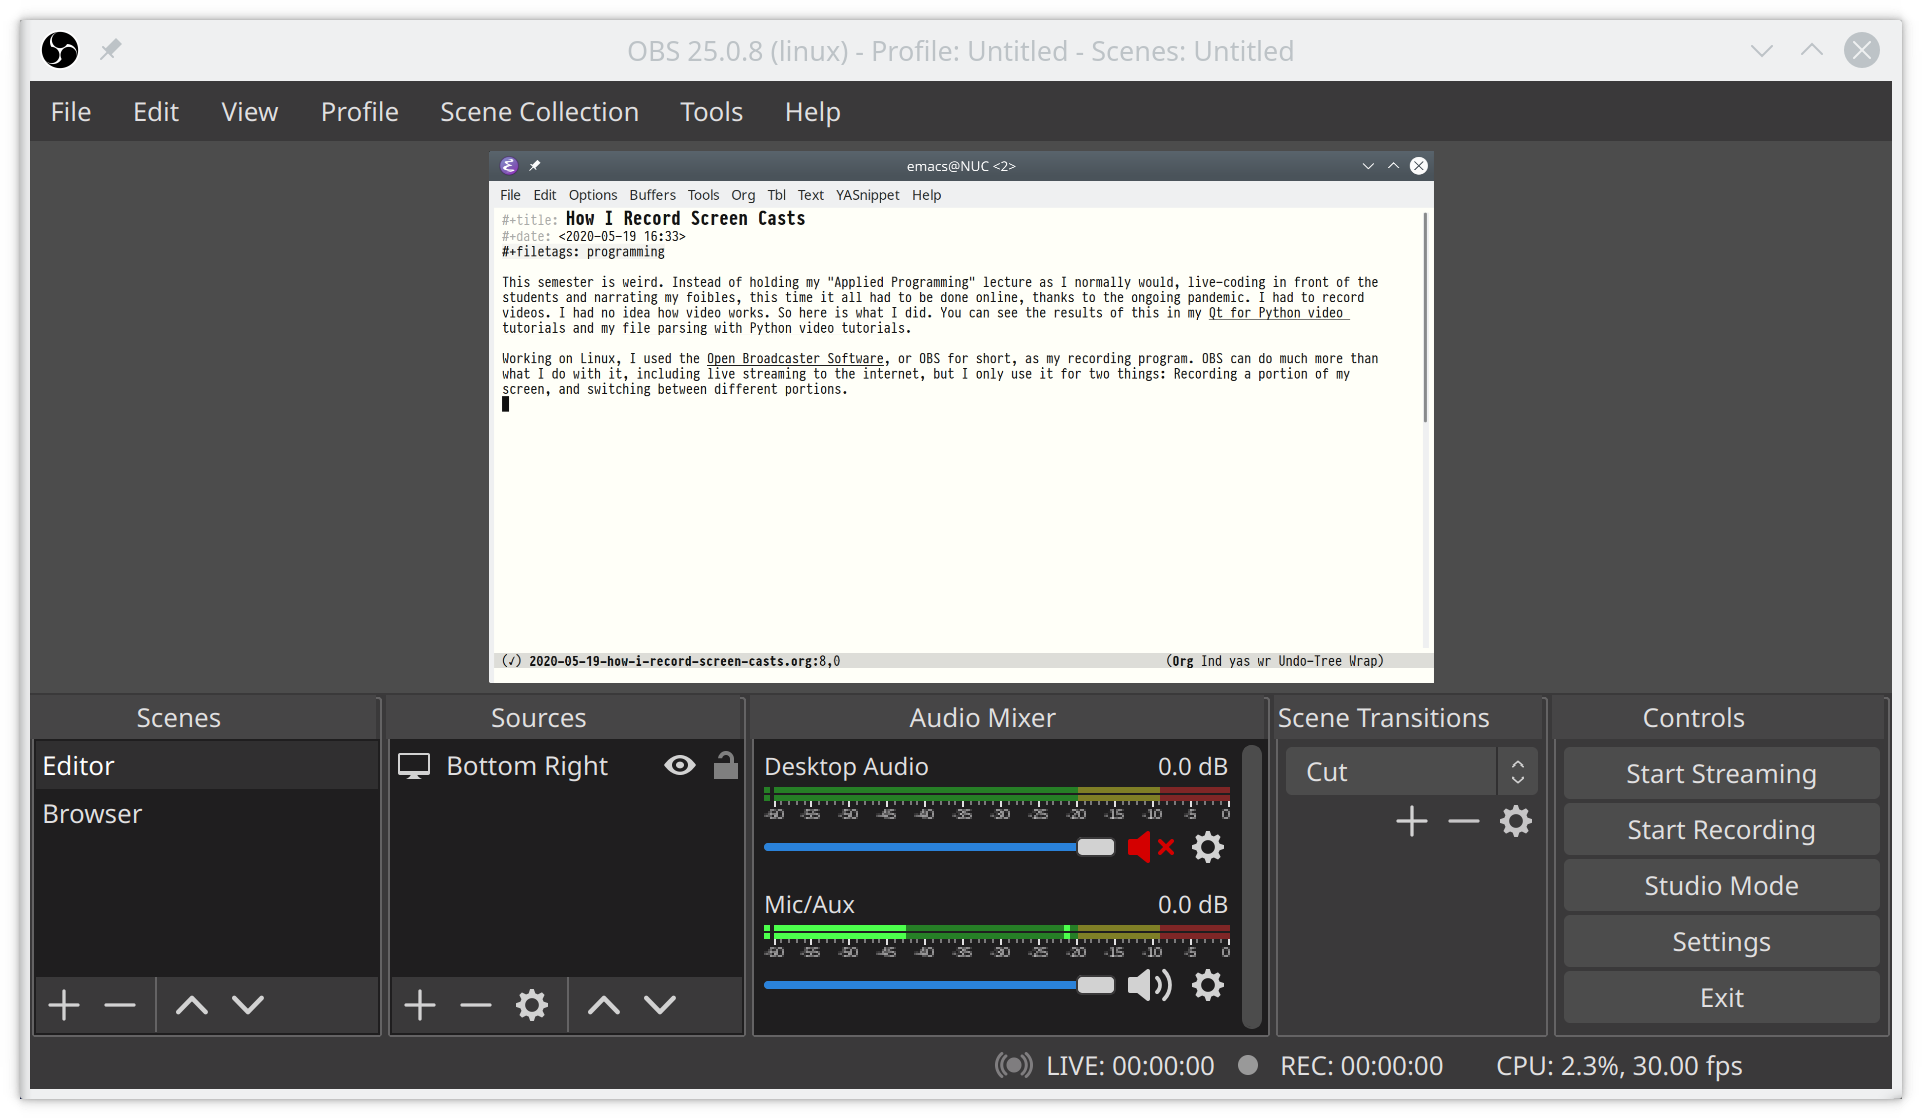
To this end, I divide my screen into four quadrants. The top left is OBS, for monitoring my recording and mic levels. The bottom left is a text editor with my speaker notes. The top right and bottom right are my two recording scenes, usually a terminal or browser in the top right, and a text editor in the bottom right. The screenshot shows the Editor scene, which has a filter applied to its source to record only the bottom right quadrant. On a 4K screen, each quadrant is exactly full HD.
In OBS's settings, I set hotkeys to switch scenes: I use F1 and F2 to select the Browser and Editor scenes, and F6 for starting and stopping recordings. For more compatible video files, I enable "Automatically remux to mp4" in OBS' advanced settings.
The second ingredient to my recording setup is KDE, where I assign F3 and F4 to activate the browser or editor window (right click any window → More Actions → Assign Window Shortcut). And to make my recordings look clean, I disable window shadows for the duration of the recording.
With these shortcuts, I hit F1 and F3 to switch focus and scene to the browser, or F2 and F4 for the text editor. To make this work smoothly, I disabled these shortcuts within my terminal, browser, and text editor. But always be weary of accidentally getting those out of sync. I don't know how often I accidentally recorded the wrong part of the screen and had to redo a recording.
Anyway, with this setup, I can record screen casts with very minimal effort. The last ingredient however is editing; and I loathe video editing. I'd much rather record a few more takes than spend the same time in a video editor. Instead, I record short snippets of a few minutes each, and simply concatenate them with FFmpeg:
Create a file concatenate.txt, that lists all the files to be concatenated:
file part-one.mp4
file part-two.mp4
file part-three.mp4
then run ffmpeg -f concat -i concatenate.txt -c copy output.mp4 to concatenate them into a new file output.mp4.
The great thing about this method is that it uses the copy codec, which does not re-encode the file. I.e. it only takes a fraction of a second, and does not degrade quality.
In summary, this setup works very well for me. It is simple and efficient, and does not require any video editing. The ability to switch scenes is cool and powerful. Still, recording videos is a lot of work. All in all, the 18 videos in the file parsing tutorials took 250 takes, according to my trash directory.
