Editing Fuji Photos on Linux
Darktable is my favorite RAW editor. It's a program for developing digital negatives ("RAW files") to JPEGs. But, I've long struggled with matching the quality of the out-of-camera JPEGs of my Fuji camera. Let me explain.
Today's cameras capture an astounding amount of detail, far more than monitors can display or printers can print. And then they crush it down to a printable and viewable JPEG file. But that crushing operation is idiomatic for each camera, irreversible, and not always appropriate to the image. And at those inappropriate times, when you want a wider dynamic range or different colors, a RAW editor like Darktable can take a digital sensor dump ("RAW file"), and render it differently. The challenge is that the camera's own JPEGs are already very, very good, and it's a fine line to walk between fixing a particular flaw with the image, while retaining as much detail as possible.
Fuji cameras produce notoriously difficult RAW files, as their internal processing is (said to be) particularly elaborate, and they use an unusual image sensor. This post is about matching the quality of Fuji's JPEGs in Darktable, while maintaining the fidelity and malleability of the RAW files.
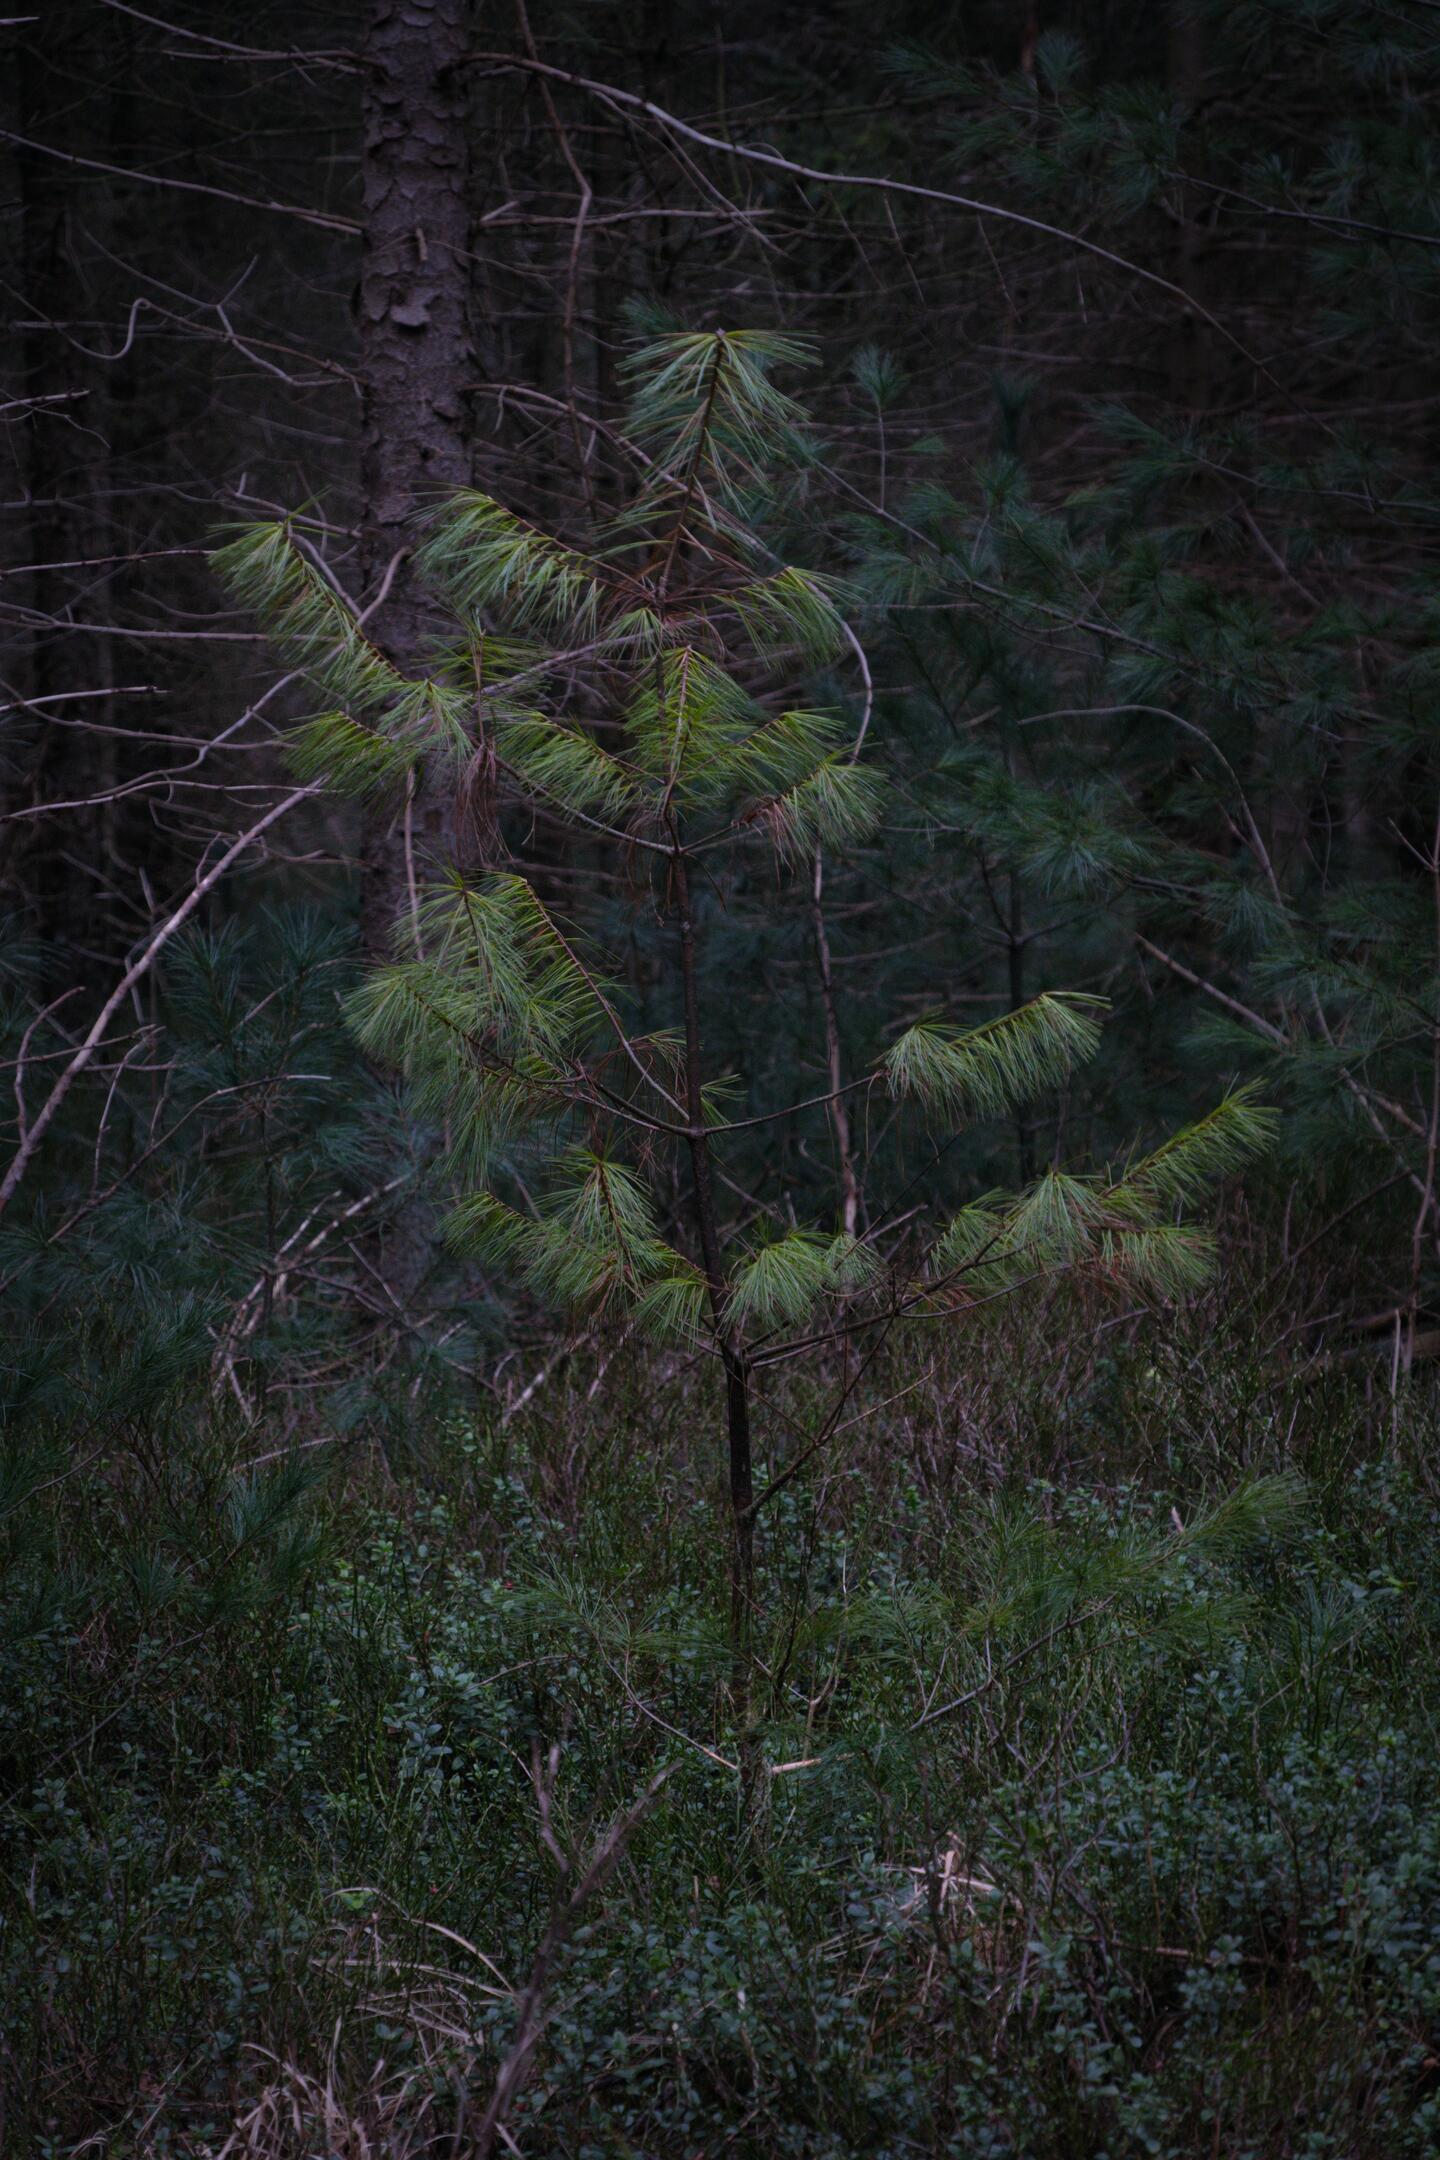
Here are a few renditions of a photograph I took, the first created with my revised process, the second is Fuji's JPEG, and the third is Darktable's default rendition. First the entire picture, the a zoomed view so you can see each pixel:
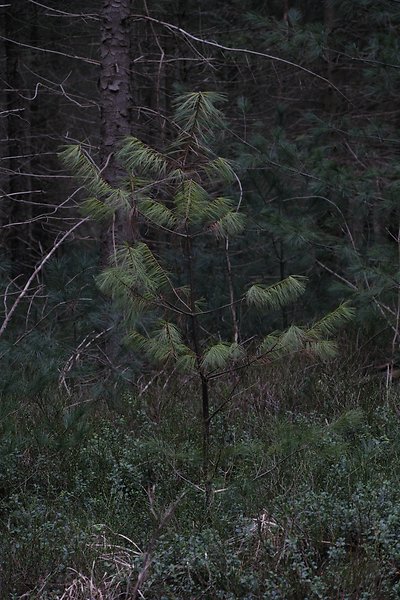
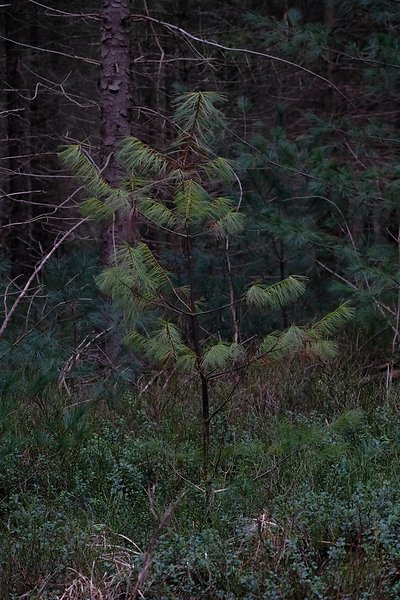

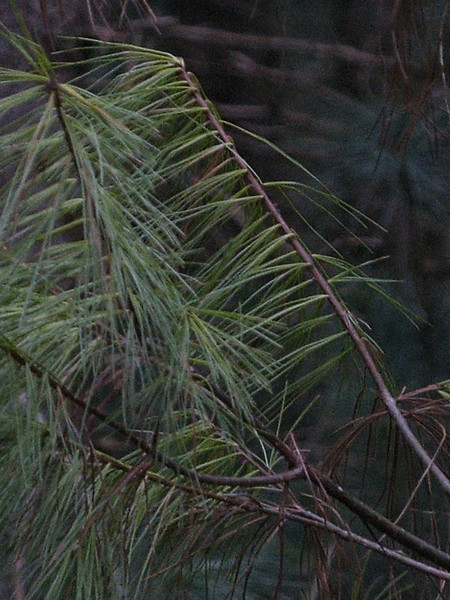


While contrast and saturation don't match 100% in my version and Fuji's, the colors are close enough for further processing. Darktable's default version does not match those colors at all. The zoomed-in version highlights even worse problems with sharpness and detail retention. After working with Fuji files in Darktable for about a year, and editing about 3500 Fuji files, I finally found a workflow that reliably produces results on par with Fuji's JPEGs:
- Use the Iridient X-Transformer to convert Fuji's RAF RAW-files to DNG RAW-files, and have the X-Transformer do the "More Detailed" demosaicing, and the full lens correction.
- Use Stuart Sowerby's LUTs instead of Darktable's Base Curve or Filmic RGB.
My first gripe with Darktable's rendering of Fuji files is that the demosaicing and lens corrections are not particularly great. Pictures simply come out softer than with other tools, and chromatic aberrations remain an issue. The Iridient X-Transformer completely fixes this issue for me. The X-Transformer can also do sharpening and denoising, but I find those are better relegated to Darktable where needed. "But... that's proprietary Windows software!!!". Yes, it is. And it works beautifully in Wine.
My second issue is colors. Darktable needs a lot of massaging to produce Fuji-like colors. The Base Curve module (shown above) really does not do Fuji files justice most of the time. And while Filmic RGB is much better, it requires a lot of tedious adjustments even in simple cases. So instead, I use LUTs extracted with a color chart and some fancy math to replicate Fuji's colors. At the moment (v3.0), Darktable understands only .cube and .png LUTs. But Stuart Sowerby's website has them in .3dl. So for now, you need to install a 3D LUT converter, and convert them to .cube manually. On Windows.
With these two steps you can develop your Fuji RAFs better than your camera, and with relatively little fuss. I'll leave you with a finished render of the image above: