A Review of the RAW Photo Editor Capture One
About half a year ago, my second child was born, and all that precious free time I had used for photo editing evaporated. So I started looking for faster photo editor, as a temporary replacement for Darktable. Based on my research last time, I chose Capture One. During the last six months, I got to know the program well, and want to share my thoughts on it, and how it compares to Darktable.
Let's start with a bit of background about my photography, to put my views into context. I learned photo editing on Linux, with Darktable, mostly for documenting my travels and family. I gather that a photographer who does not know Lightroom is a bit of an oddity. But it should provide an interesting perspective for the purposes of this review. Furthermore, my interest in post processing is not purely artistic. Being a signal processing scientist, I can't help but analyze the underlying image processing algorithms, and am perhaps more annoyed by certain editing artifacts than most people.
In terms of photography, I tend towards quick reactionary shooting of the fleeting moments of my family's life. Mostly because I prefer to spend my time playing with my kids instead of pointing a camera at them. I am therefore perhaps a bit more tolerant of slight imperfections in terms of focus and exposure than is usual. This also means I value my camera/editor's capability for recovering misjudged exposures or imperfect lighting very highly.
Most review articles of photo editing software are conducted from only a short glance at the contesting programs, since spending the months necessary to get to know each program is usually neither practical nor affordable. But due to my particular circumstances, the present text actually comes from a few months of more-or-less exclusive use of Capture One, on about 30 thousand pictures, of which I edited about 2000 (all new, not just re-edits of old ones, and implicitly the incentive to recreate another program’s rendering).
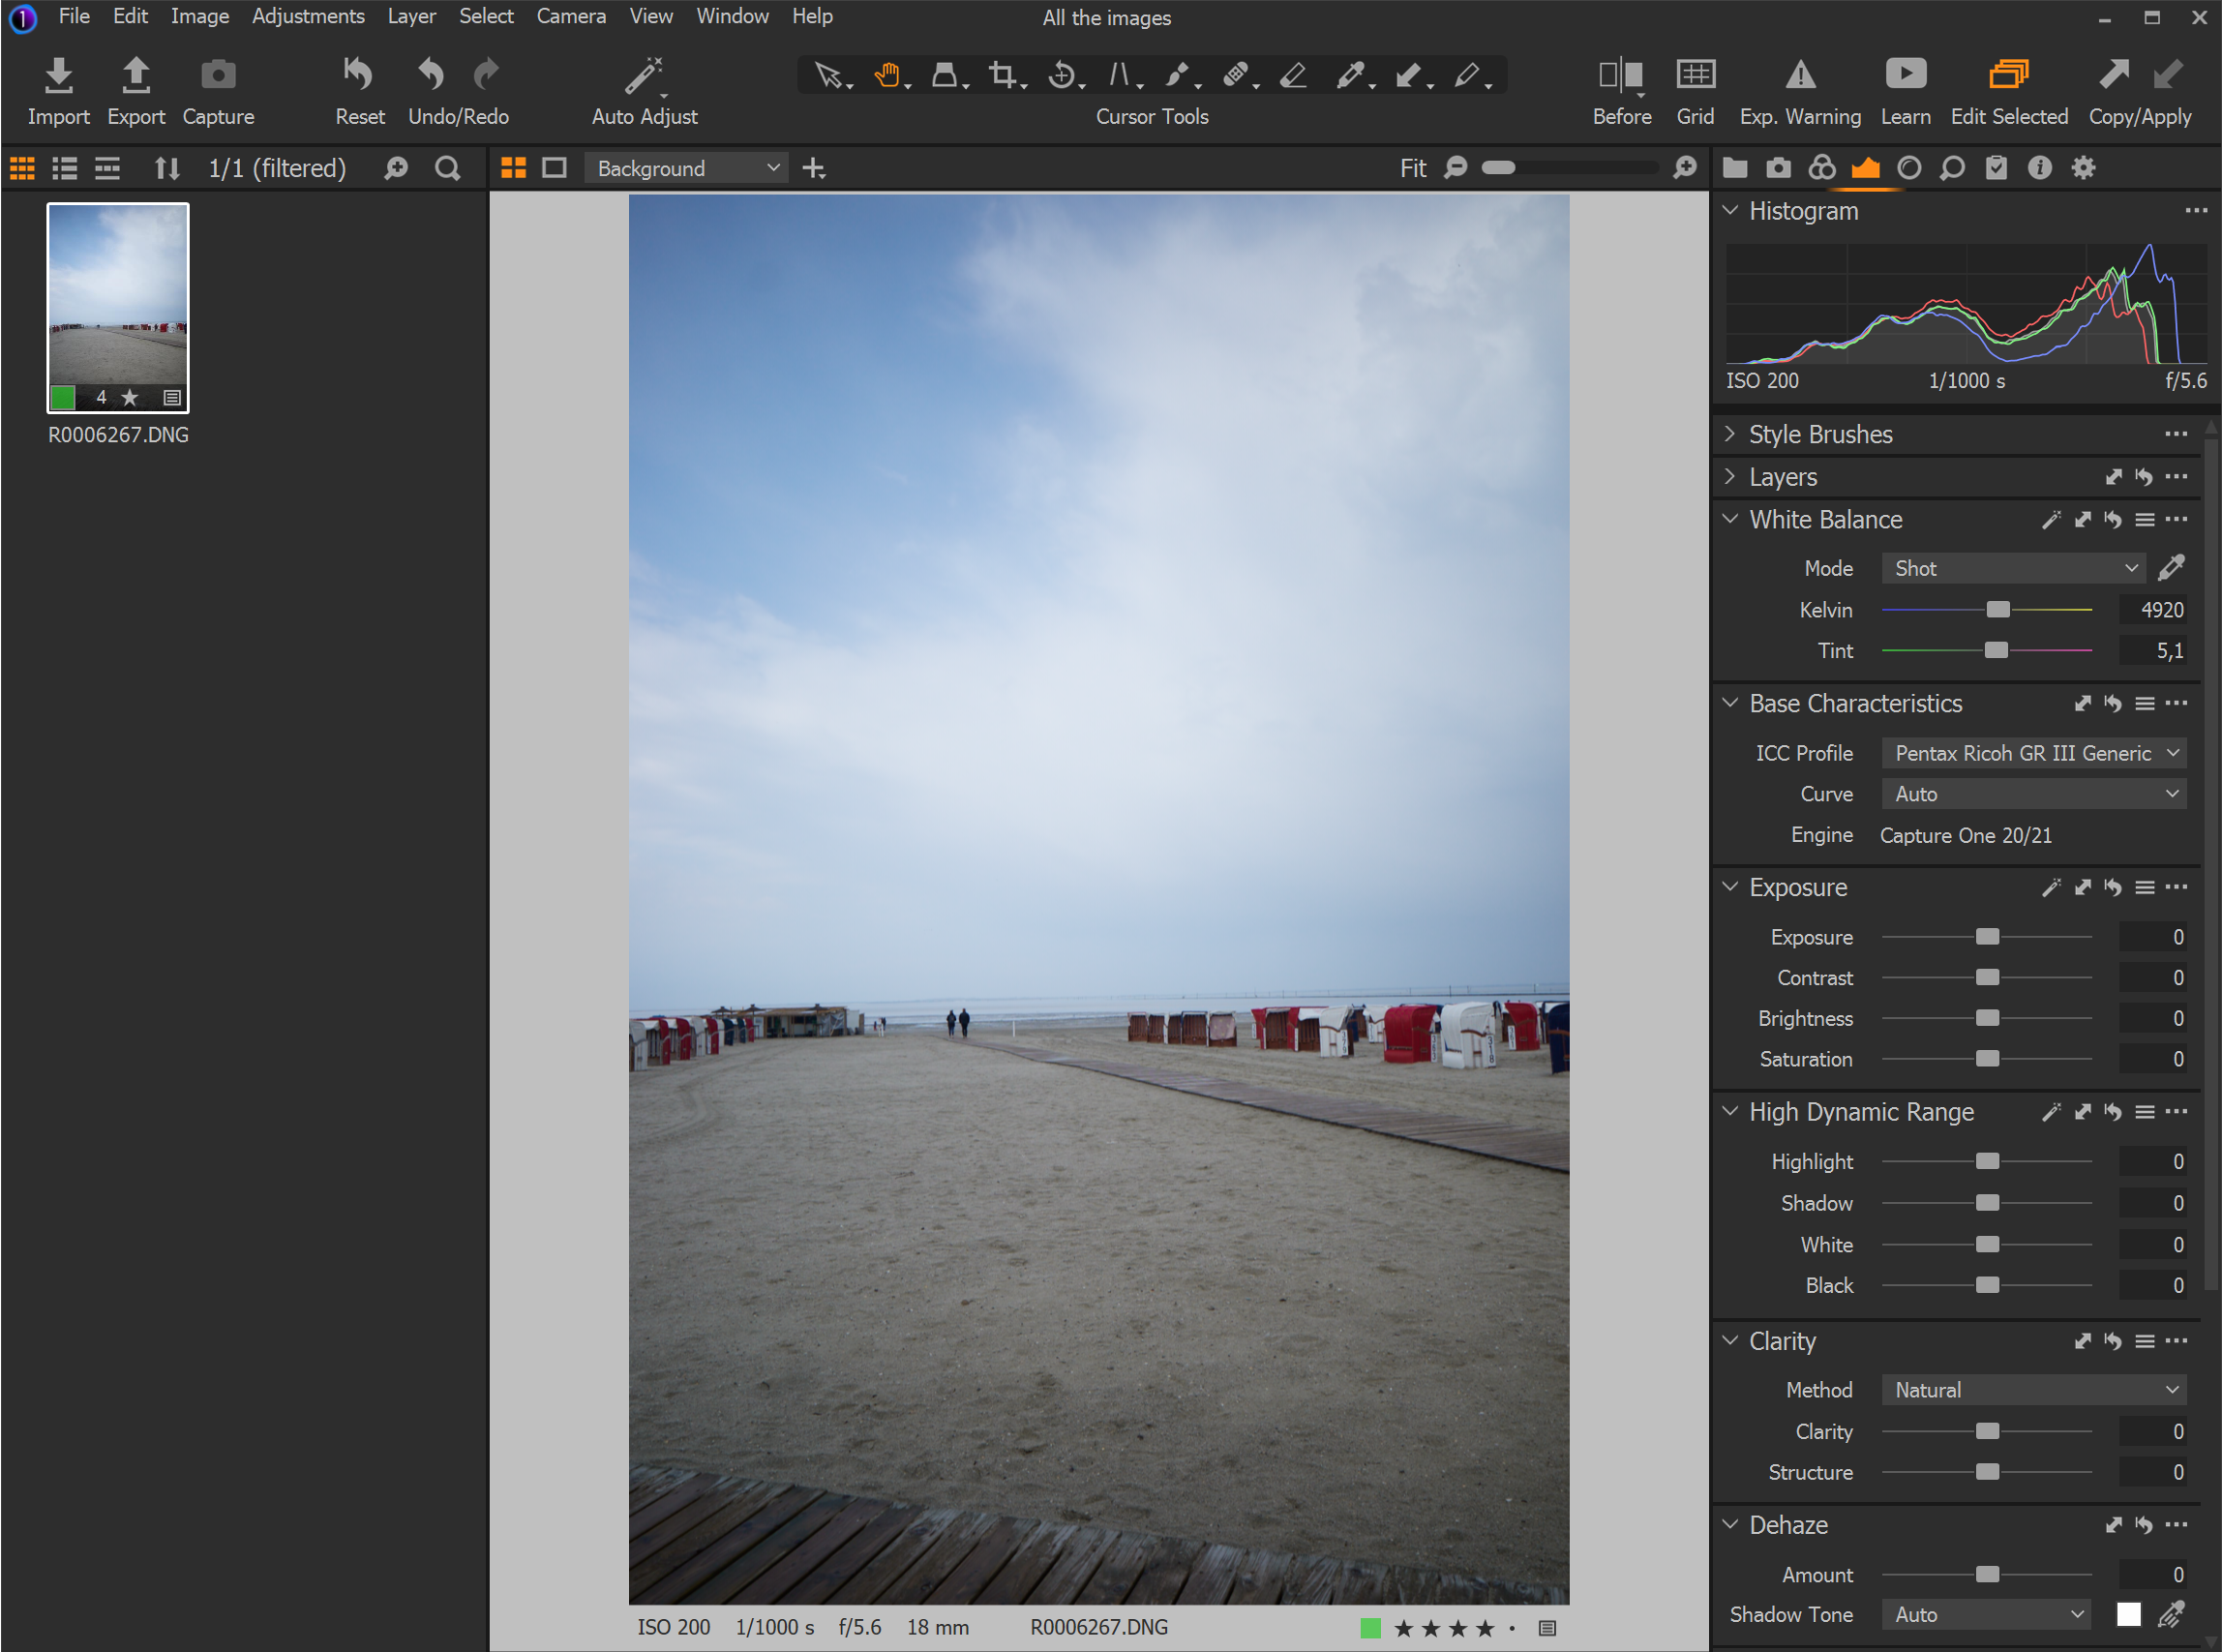
So, Capture One. It is very fast. You move a slider, you see the results of that change immediately, even on my lowly Surface 7 Pro tablet. But this focus on speed actually goes deeper than just slider movements: I discovered that many parts of the application seemed actively optimized for quick operation, which allows me to process pictures much more quickly. This was frankly a revelation in the time-starved months after my second baby’s birth.
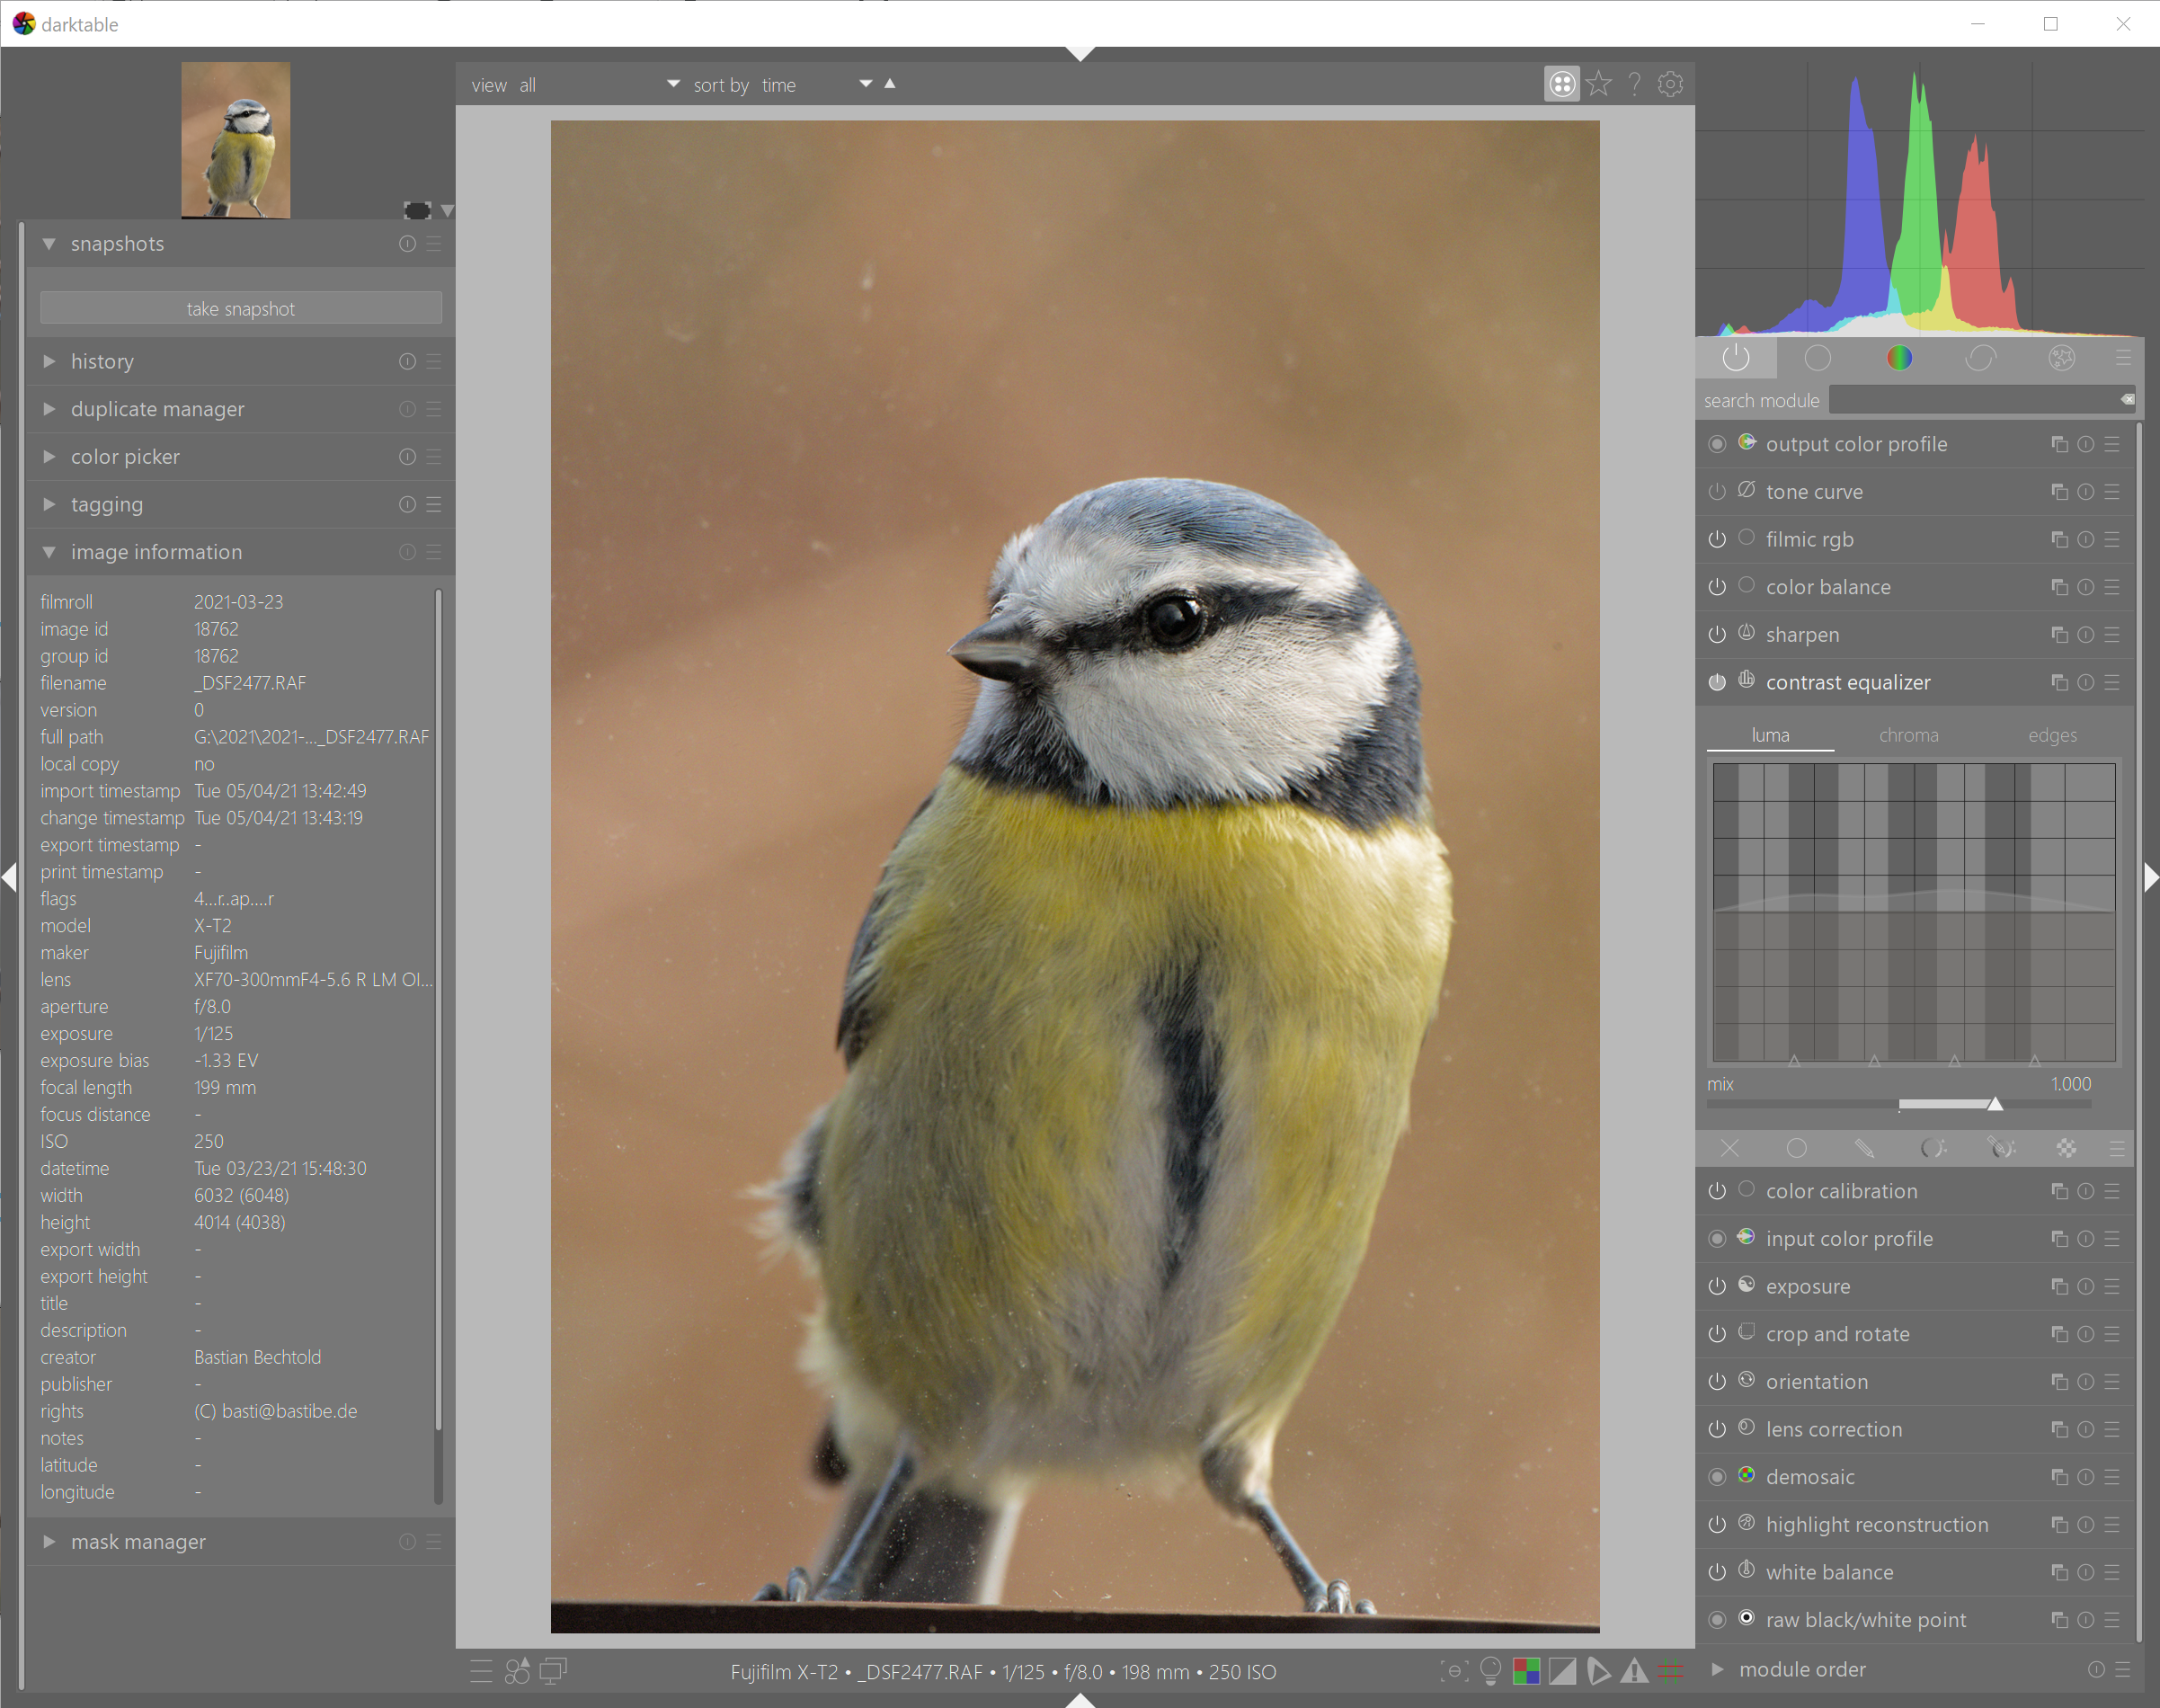
As an example of how much quicker Capture One's default workflow is than Darktable's, here's my usual editing flow in Darktable: I start with fixing exposure, in the Exposure module. Then I adjust shadow density and recover highlight color with the black and white sliders in the Filmic RGB module. Then I adjust white balance to taste in the Color Calibration module. Then I crop in Crop and Rotate, then add additional adjustments such as Color Zones, Color Balance, Tone Equalizer, Denoise (Profiled), or Contrast Equalizer. Last come local adjustments if necessary. The thing is, more or less every image needs at least Exposure adjustments, some Filmic RGB tweaking, and cropping. All of these items are situated in different modules in Darktable, each requiring multiple clicks to access the module and then change the value. This is supposed to be improved in the next version of Darktable, which will let you put all your favorite sliders in a custom module. I am very much looking forward to that.

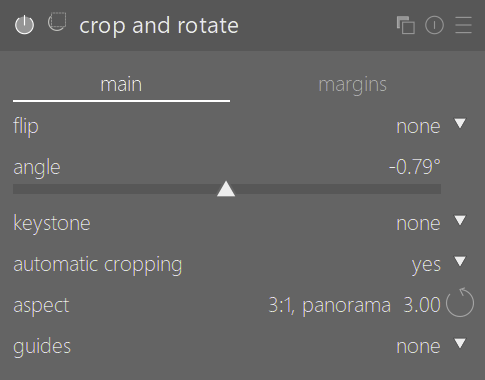
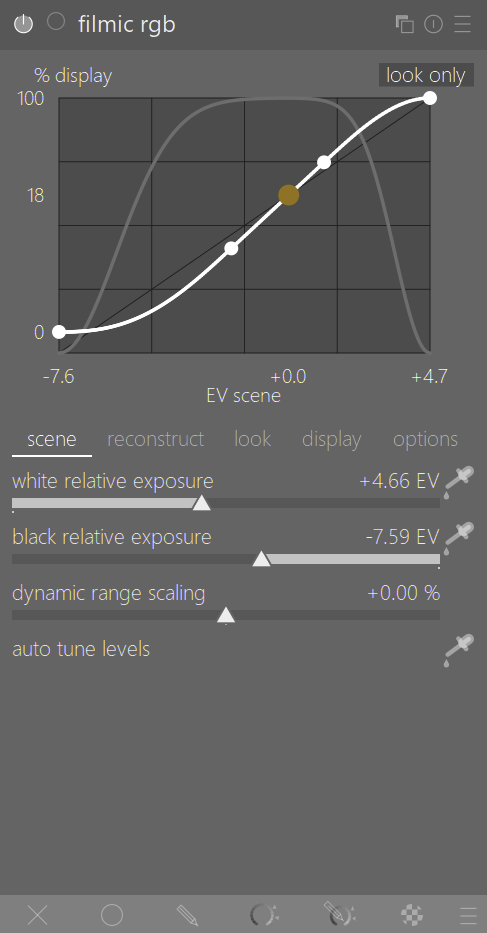
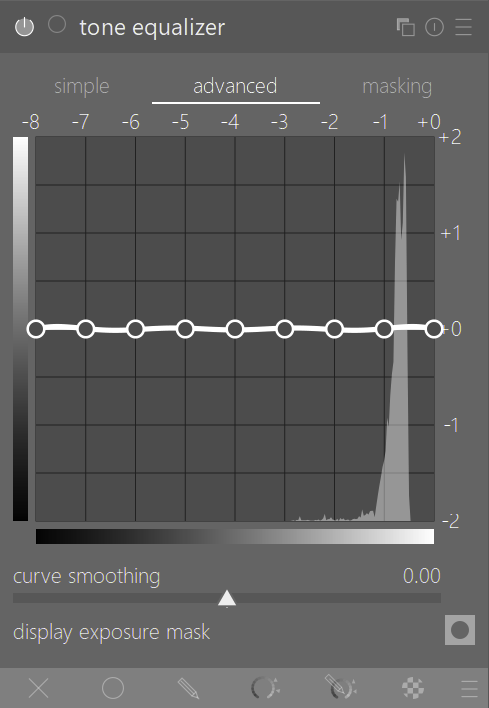
In contrast, a similar workflow in Capture One happens entirely on one screen, just by going from one slider to the next:

Furthermore, common tools such as cropping, rotating, and the white balance picker are accessible at all times with highly memorable keyboard shortcuts (C, R, W, respectively). Taken as a whole, this allows me to positively blaze through images compared to my Darktable workflow. It took me a while to appreciate how significant this difference was in my use: I now sometimes do a few days’ edits in a spare half hour, which used to be an all-evening affair in my usual Darktable workflow.
Which is not entirely Darktable's fault. Assigning custom keyboard shortcuts in Darktable can speed things up, and of course Darktable’s module system is infinitely more powerful, so there's a reason for its complexity. But the above example highlights a bit of a philosophical difference between Darktable’s unflinching priority on user control, and Capture One’s compromise between power and speed. There are upsides and downsides to both, but at this moment in my life, I begrudgingly value speed over power.
However, there were also a number of occasions where I missed Darktable’s deep control. Most notably, Capture One’s High Dynamic Range sliders and Clarity controls feel a bit restrictive and oversimplified: It can be hard to control which parts of the image are affected, and the tools are prone to produce artifacts such as halos if not managed carefully. In contrast, Darktable's continuous Tone Equalizer mask gives very precise and adjustable control over the affected area. Similarly, Darktable's Contrast Equalizer can control local contrast at arbitrary wavelet sizes, not just the very small ("Structure") or very big ("Clarity") ones, for example for specifically highlighting tree trunks or bird feathers.
Another annoyance with Capture One can be found in colors at the edges of the tone curve: When pushing exposure, Capture One tends to turn brightly colored highlight towards primary colors such as cyan/magenta/yellow before desaturating them into white. Similarly, shadow recovery sometimes pushes brightness and saturation a bit more strongly for brightly colored shadows than for dull ones, leading to an unnatural glowy effect. These cases are usually easy enough to fix with a quick tug on the shadows/highlights slider or by reigning in the offending color's lightness in the Color Editor, but they smell a bit of a runaway algorithm, which bothers me. Although in direct comparison they bother me less than the various rocks and hard places in Darktable's Filmic RGB chrominance preservation modes.
On the topic of bothersome details, Capture One's repair layer seemingly has a mind of its own when deciding whether to create a new control point, or adding to an existing one. The Highlight and White slider in the High Dynamic Range module sometimes can't quite decide whether to move white point, and sometimes lead to lightness reversals around bright objects. More on the algorithmic side, it annoys me that only the Exposure and High Dynamic Range modules have access to the full dynamic range of the raw file, while all the other tools apparently come after the screen transform, and therefore can't reach beyond the black point and white point. This makes Levels and Curve a bit less useful than I'm used to. Demosaicing is also not quite as detailed as Darktable's, although only by a tiny margin.
One surprising limitation of Capture One is that its support for cameras and lenses is a bit hit-and-miss. Film simulations are only supported for my Fuji X-T2, but not for the older Fuji X100T, nor the Ricohs or Panasonic. Some of their lens profiles are also laughably bad, and leave obvious reverse-vignetting or barrel distortion when enabled. Frankly, Darktable does better in terms of lens support, despite relying solely on volunteer support.
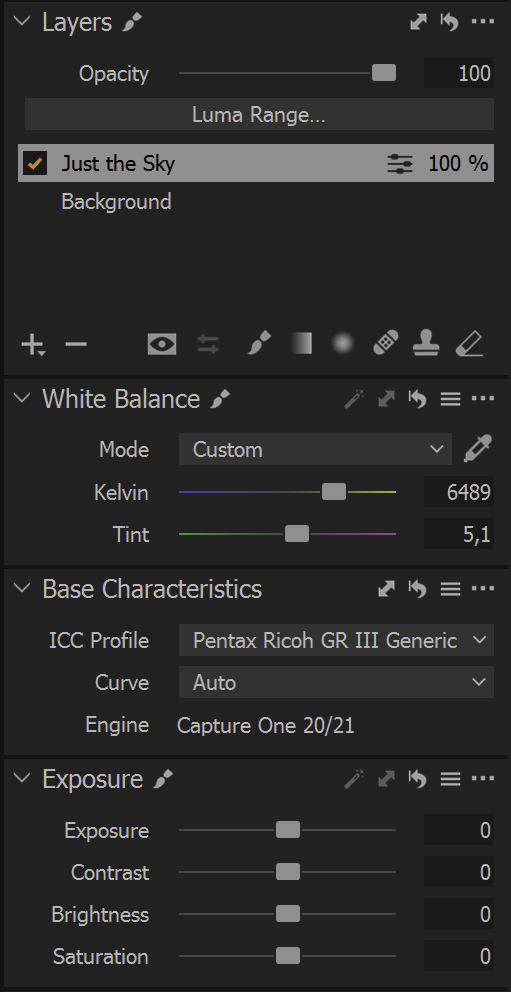
In terms of UI, Capture One is generally well-organized and easily configurable. But there is a constant stumbling block in the Layers module that I find very annoying: many of Capture One's tools automatically create new layers, but deselecting the tool does not deselect the layer. As delightfully easy it is to press B for the brush and paint in some Clarity, as unnecessarily laborious it is to then spend three clicks to slide open the Layers module and select the background layer again to resume editing. Or alternatively, wonder why your edits don't work while you don't have the background layer selected. It's a true pain.
As the last point of the nit picking, I was disappointed by the number of minor technical bugs I encountered in my use of Capture One: Half the time, Capture One starts half zoomed-in, and leaves me scratching my head at what weird compositions I chose for a few seconds. And the main, zoomed-out view is weirdly blurry if you use two displays with different DPI. Both of these issues are well-documented on their forums for several releases, but have not been fixed. For the exorbitant price that Capture One commands, such issues and customer communication are frankly unaccetable.
Finally, a few words about the library module and file organization. At first glance, I hated Capture One’s library. You have to import every single directory manually (I organize my images in daily directories), all the edits go into a central catalogue and nowhere else, and the sidecar files contain no editing information. But then someone told me a much better way: Instead of using Capture One’s Catalogue, create a Session, but ignore all those pre-built input and output directories, as well as the import button, and instead simply navigate to any old directory on your computer with the sidebar file browser. This is clearly not how sessions are meant to be used. But it actually works reasonably well, and puts editing information in a subdirectory next to the raw file.
On the whole, I grew to quite like Capture One, despite its flaws, mostly for its streamlined user interface and speed of operation. In terms of image quality, I honestly didn’t see much difference between Darktable and Capture One. But perhaps I am not the most discerning of users, either, as my focus is not on crazy detail recovery or the more technical arts of macro or astro. When it comes to control, I occasionally felt restricted and, dare I say, patronized by Capture One. But the speed of operation and general good-enough-ness of the image quality are still hard to argue with. I just wish they fixed their UI bugs, and improved their algorithms a bit.
