A Review of Darktable
With version 3.0, my favorite photo editing software Darktable started the journey towards a scene-referred editing pipeline. Which means that most edits are no longer bounded between a fixed black zero, and a white one, but can range between zero and infinity, like light itself. This is the norm in video editing and video games, but unique in photo editors at the moment. The scene-referred pipeline has brought changes to pretty much all parts of the editing workflow. I have been frustrated with it, too, even opting to use Capture One for a while. But with version 3.6, Darktable seems to have found a new stride. This article is about my favorite features in Darktable 3.6, contrasting it with Capture One's more traditional toolset.
A camera sensor records light. When there is very little light, we call that "black", but there is really no similar label for when there is a lot of it. It's just very bright. A very bright blue light is still blue, and could always be brighter. However, screens and print and analog film can not get arbitrarily bright. Instead, they have a limited maximum brightness, and the brightest color is always white. Which is why pushing things ever brighter in photo editing eventually turns them white, because that is the brightest thing possible on screen or print.
But this is a limitation of the display, not the editor or the recording. Thus it makes sense to edit photos with a physical understanding of light, where making things brighter does not make them whiter. Consider sharpening, or color grading, or contrast adjustments: All of these can push pixels brighter or darker, but really shouldn't suddenly whiten them at some arbitrary brightness. In the new scene-referred Darktable, colors are squeezed into a viewable or printable form only at the very end of the processing, retaining their physical properties for as long as possible. In most other tools, the squeezing is done early on, and edits hobbled thereafter.
In practice, this means Darktable can change tones with any number of tools without losing color information: the tone equalizer, or the rgb curve, or levels rgb, or the contrast equalizer, or sharpening, or color balance all manipulate tones without fear of losing highlight information. Only filmic rgb at the very end determines which bright pixels to turn white. In a way, the scene-referred part of the pipeline feels like raw editing, while the rest feels like editing a JPEG. Contrast this with Capture One, where only the sliders in the Exposure and High Dynamic Range modules can recover bright pixels from white, but e.g. Clarity, Levels, and Curve can not. After getting used to the scene-referred way of working, this seems like an arbitrary limitation, and really makes Levels and Curve less useful than they should be.
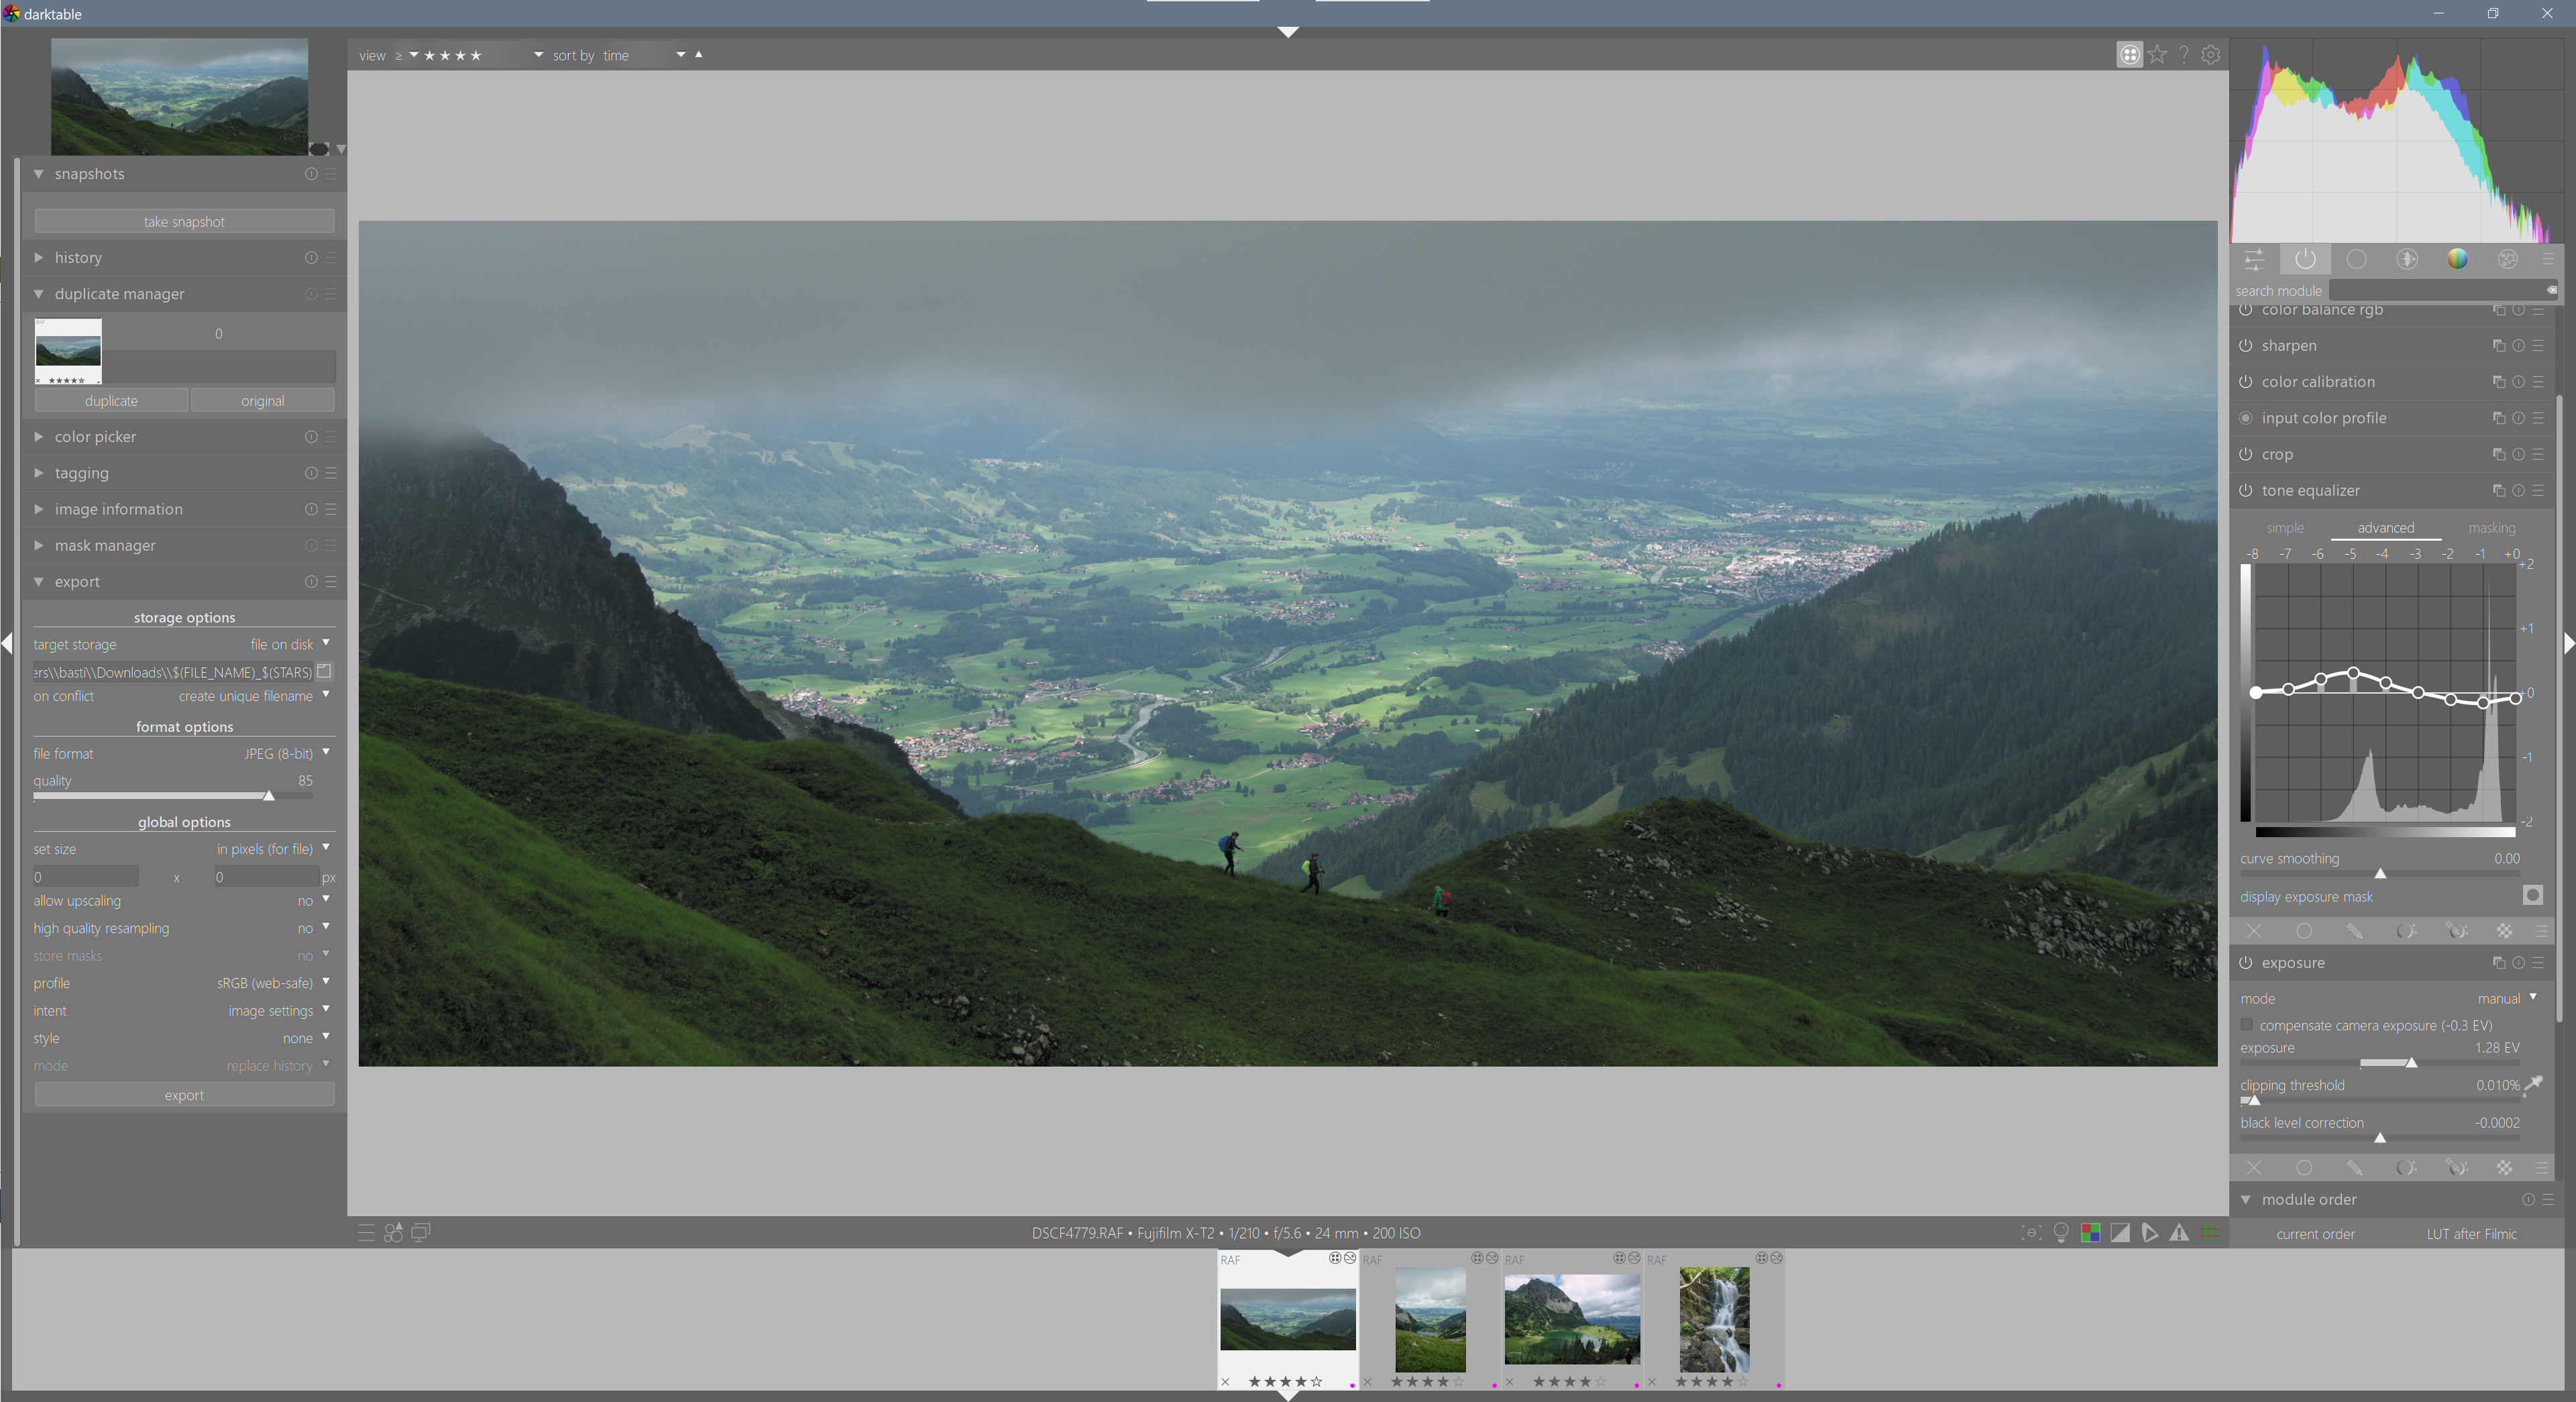
Interestingly, this leads to a somewhat different editing workflow in Darktable compared to Capture One. Since the scene-referred pipeline is mostly nondestructive, I can play with the overall tonality with abandon, safe in the knowledge that I will be able to recover any lost detail later. Thus I commonly use the exposure slider to expose for my mid-tones, and then reign in my burning highlights with the tone equalizer1 or filmc rgb white relative exposure2. In Capture One, digital overexposure is much more difficult to recover than underexposure, so I usually use the high dynamic range tools to underexpose slightly, and then recover mid-tone exposure with the high dynamic range shadows slider or tone curve. While these two workflows are largely equivalent, I find it interesting that Darktable can go either way, while Capture One can not.
A related area of rapid development in Darktable has been the color balance rgb module, and color calibration. Both of these allow for very fine-grained control over various aspects of color, handily parametrized by hue or tone or channel. There is some subtlety in the various controls for "colorfulness", "vibrance", "chroma", "brilliance", and "saturation" that took some learning. But it also taught me to see color in a more nuanced way, which is a good thing. In mixed lighting, I can now use several instances of color calibration modules3 for different image areas, producing more natural results that I am capable of in Capture One.
A particular pain point in Darktable 3.4 and Capture One was the rendering of colored highlights. In Darktable 3.4, bright colors often turned weirdly radiant, and then aggressively desaturated, with a sharp and unnatural edge in between. I don't quite know why, but this problem seems much reduced in 3.6. Both issues are now dealt with quickly and cleanly with a quick tug on the filmic rgb white relative exposure slider. A real boon that slider is. Now I just wish it didn't affect contrast quite so much and didn't also influence shadows, despite its name. Oh well, a man can dream. Capture One had the opposite problem, and sometimes wisted colored highlights into bright primary colors before desaturating, leading to cyan skies and yellow skin at the fringes of overexposure. This is still one of my major complaints about Capture One.
My last point of struggle with Darktable has long been the rendering of colors of my Fujifilm camera. Something about the colors always seemed off, in a way they weren't in Capture One. Greens too blue, browns too magenta, and skin too pink. After quite some experimentation, I found that this was simply due to Fujifilm depending on a bit of proprietary color magic for appropriate rendering. I now apply one of Stuart Sowerby's LUTs in chromaticity blending mode after filmic rgb. This leaves tonal adjustments fully to Darktable, but fixes the awkward colors perfectly. And it even allows me to play with the film simulations Fuji is famous for.
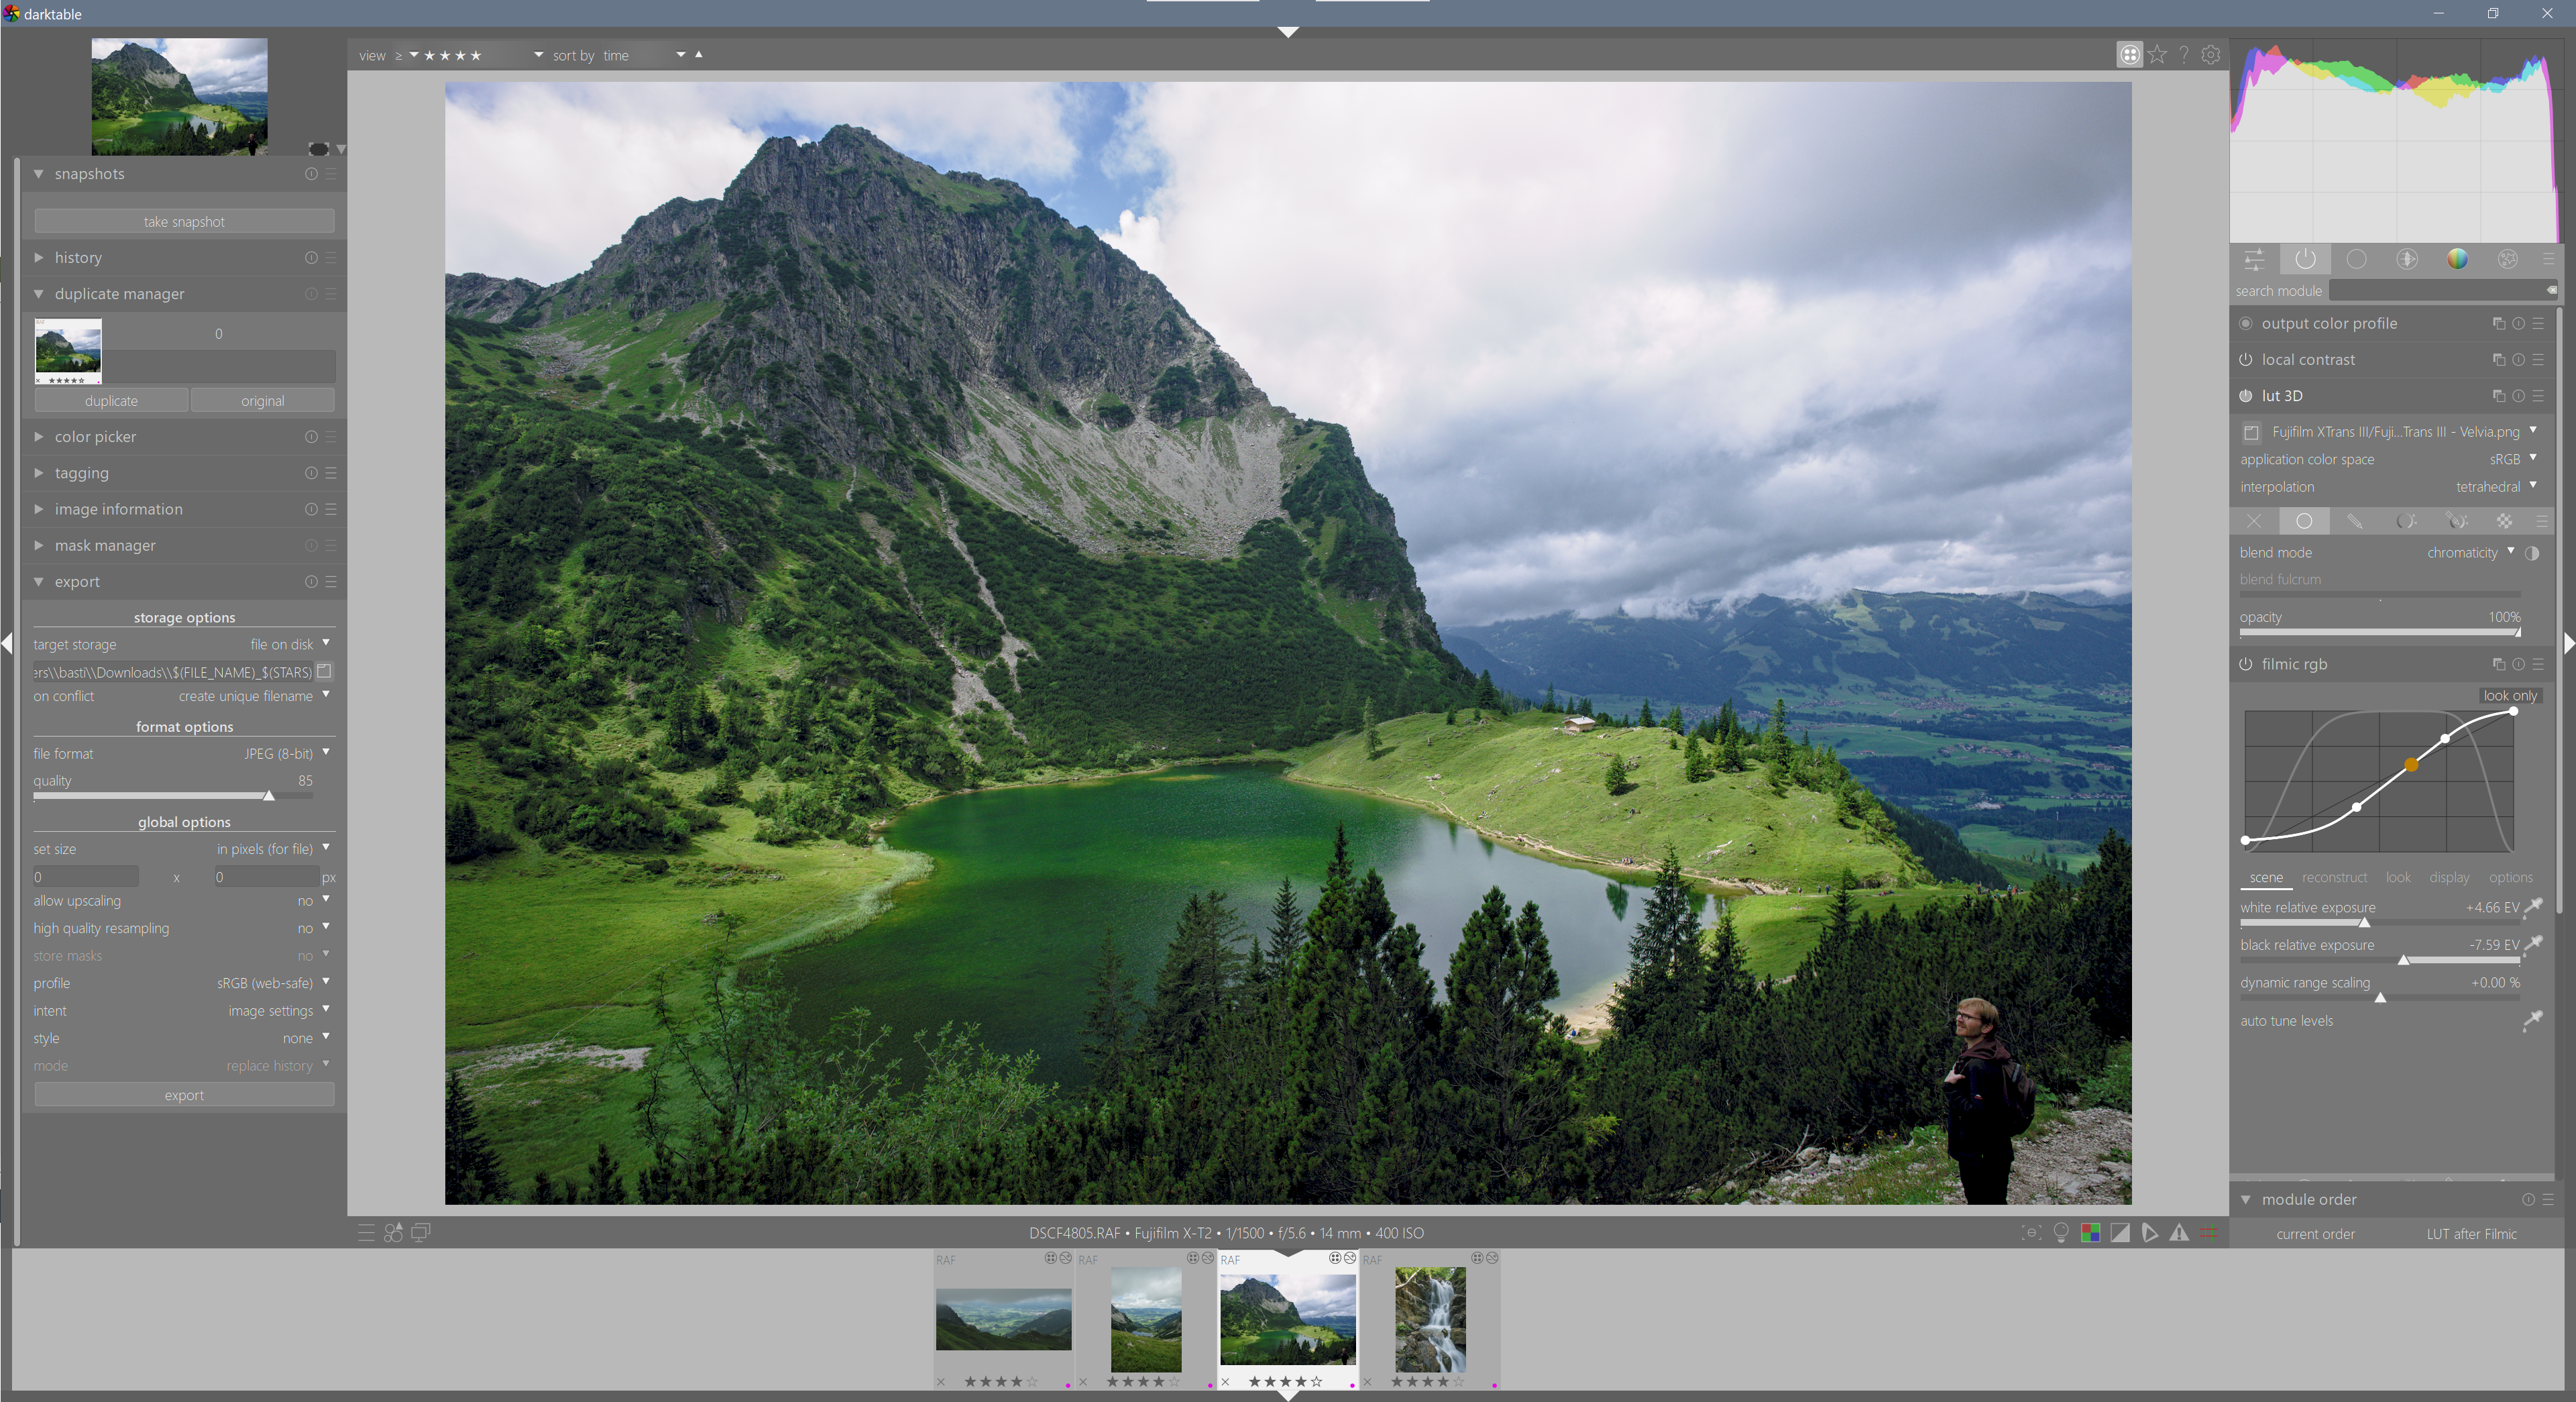
Actually, this highlights a unique strength of Darktable: the order of modules in the image editing pipeline is customizable, and most modules can be applied with masks and blending modes. Only since I used Capture One for a few months did I understand how powerful this concept really is. The key difference is that "layers" in Capture One (et al) merely apply the image editing pipeline with different parameters in different places[^4], while Darktable's modules actually apply sequentially. This enables true incremental editing, such as fixing white balance correctly for one part of the image, then applying another level of white balance just for the blue parts. Or fixing colors in a LUT after all the tonal edits, without fear of destroying highlights or shadows in the process.
[fn:4 i.e. you can fully desaturate a picture to black-and-white, then "recover" saturation in a layer
So overall, I am very happy with Darktable in its latest iteration. As always, there are plenty of nitpicks I could bring forward, such as being a bit sluggish in operation, and the UI could be streamlined a bit4. But it has once again displaced Capture One for my own work, and it makes me happy.
